

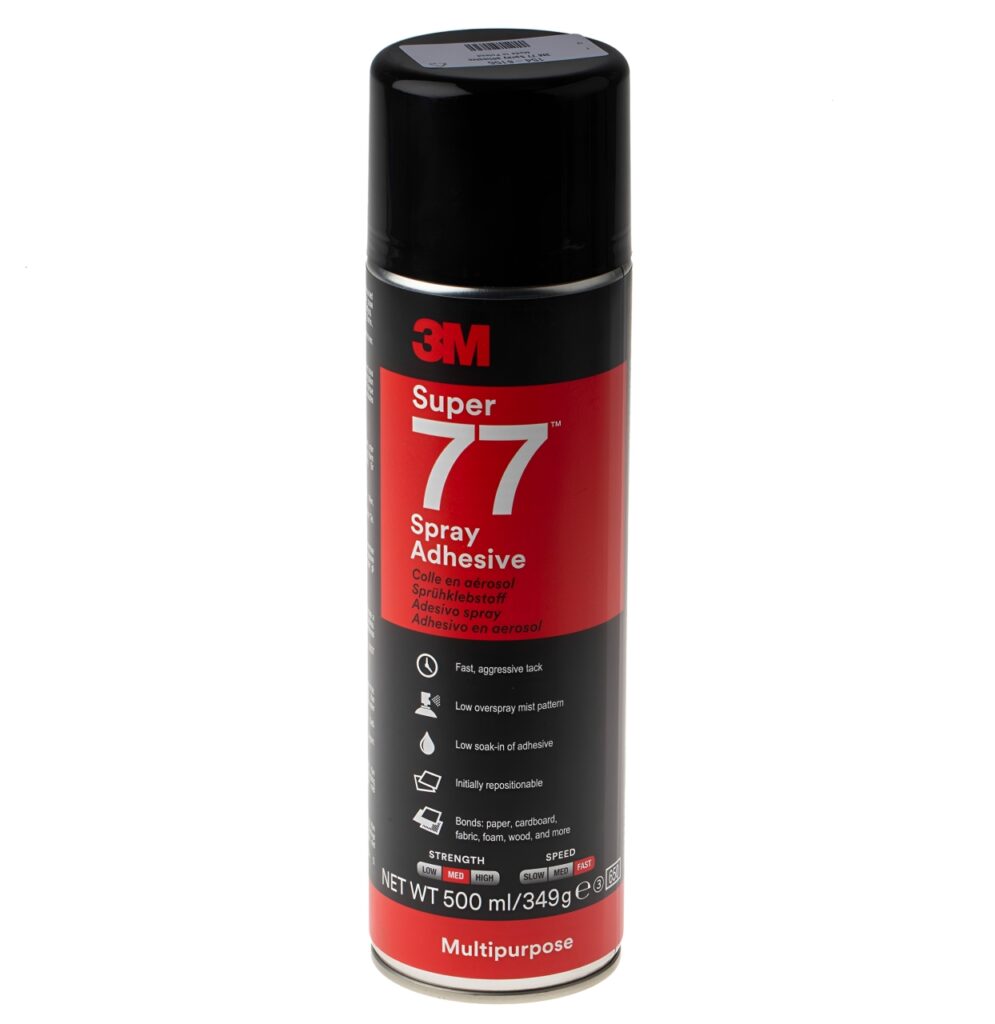
The 3M Super 77 Adhesive Spray is a multipurpose aerosol adhesive for bonding lightweight materials. Product number 7000116782 identifies the 500 ml version, which offers a convenient format for display preparation and light assembly work.
A well-finished display or fabric-covered panel depends on details that remain visible long after assembly: straight edges, accurate positioning and an even surface. Choosing the adhesive is one part of that process. Preparing the materials and organising the work area deserve equal attention.
For workshops and production teams, this makes spray bonding a practical process to plan, test and repeat.
What Makes Super 77 Useful for Lightweight Materials?
3M describes Super 77 as a fast-drying adhesive with strong initial tack and low soak-in. Its formulation is intended to create permanent bonds while providing time to position materials before joining them.
The manufacturer’s application list includes paper, cardboard, fabric, cushion foam, wood, plastic and metal. Display assembly and mounting presentations are among its stated uses. These descriptions establish a useful starting point, although individual material combinations still need evaluation.
When comparing Spray Adhesives, consider the finished assembly’s purpose, the surfaces involved and the required permanence. That approach helps you select a formulation around the job.
Why Should the Actual Surface Be Checked?
Two panels made from the same base material may present very different bonding surfaces. Paint, varnish, printed coatings and manufacturing residues can change what the adhesive contacts.
For example, bonding to varnished wood means bonding to the varnish layer. 3M’s surface-science guidance highlights this distinction because surface properties influence adhesive selection and performance.
Before committing to a full project, prepare a sample using the actual materials. Check:
- Whether the adhesive affects the visible finish
- Whether thin fabric or paper shows staining or distortion
- Whether edges remain attached after the intended handling
- Whether the assembly retains the required flexibility
- Whether the bond suits the expected service conditions
Keep the approved sample alongside the job specification. It gives the team a clear reference when materials or suppliers change.
How Does Preparation Help Produce a Neater Finish?
Measure, cut and arrange the components before applying adhesive. A dry fit makes it easier to spot an uneven border, incorrect orientation or an allowance that is too small.
Suitable Cutting Mats provide a dedicated surface for preparing paper, card and other compatible sheet materials. Keep that cutting area separate from spraying so adhesive residue does not transfer onto the next piece.
Surface cleanliness also matters. Dust, oil and fingerprints can interfere with adhesive contact, as 3M explains in its bonding guidance. Remove contamination using a method compatible with the substrate and allow cleaned surfaces to dry before proceeding.
Arrange the prepared parts in assembly order, with the bonding faces protected from unnecessary handling.
How Can You Keep Adhesive Within the Intended Area?
Decide which areas need adhesive and which must remain clean. Visible borders, exposed faces and nearby tools should be protected before spraying begins.
Appropriate Masking Tapes can hold protective masking in position around the workpiece. Select the tape for the surface and test removal on delicate finishes before using it across a finished panel.
Follow the can’s instructions for preparation, spraying distance and application. Practise on scrap material to establish a controlled movement before coating the finished piece.
For repeated work, mark the placement position on the bench covering or use a simple alignment template. This gives each operator the same starting point and helps make the process more consistent.
What Should You Know About Drying and Positioning?
Initial tack, drying time and the permitted bonding interval describe different stages of the process. Avoid treating them as interchangeable measurements.
3M’s European technical data sheet describes a mist spray pattern and notes that drying time depends on temperature, humidity and the amount applied. Follow the instructions supplied with the specific aerosol when deciding when to bring the surfaces together.
Plan the alignment before spraying. Establish which edge will act as the reference and how the remaining material will be supported during placement.
For larger pieces, rehearse the movement without adhesive. A short trial can reveal whether a second person or a positioning aid would make assembly easier.
What Should Happen After Bonding?
Inspect the finished piece against the approved sample. Look for alignment errors, visible residue, lifting edges and changes in surface appearance before releasing it for further assembly or packing.
If unwanted residue needs removal, choose from Adhesive Removers only after confirming compatibility with both the adhesive and the underlying finish. Test a concealed area and follow the cleaner’s instructions.
Record the material combination and application method for repeat orders. Keeping that information with product number 7000116782 makes future purchasing and process checks more straightforward.
How Should the Aerosol Be Handled and Stored?
3M’s safety data sheet classifies this product as an extremely flammable aerosol. Use suitable ventilation, keep it away from ignition sources and follow the specified exposure controls and protective-equipment requirements.
Protect the container from sunlight and temperatures above 50°C. Do not puncture or burn it, including after use, and follow the product instructions for disposal.
Before ordering 3M Super 77 Adhesive Spray, confirm the 500 ml format and test the proposed material combination. Prepare the cutting, masking and assembly stages around that trial so the first finished piece establishes a repeatable standard for the rest of the work.
