Repairing an electronic circuit can seem daunting, but with the right tools, knowledge, and approach, it can be a relatively simple task. Here’s a step-by-step guide on how to repair an electronic circuit:
- Gather the necessary tools: To repair an electronic circuit, you’ll need a soldering iron, a multimeter, pliers, wire cutters, a screwdriver, and a replacement component if necessary.
- Identify the problem: The first step in repairing an electronic circuit is to determine what’s causing the issue. This can often be done by using a multimeter to test the components and connections within the circuit. A multimeter can measure resistance, continuity, and voltage to help you identify any issues.
- Check for any visible damage: Look for any signs of physical damage to the circuit board, components, or wiring. This can include cracks, burns, or corrosion.
- Test the components: Use the multimeter to test each component in the circuit. Check the resistance and continuity of resistors, capacitors, and transistors, and the voltage across diodes and LED’s.
- Replace damaged components: If you find a damaged component, replace it with an identical one. Make sure to disconnect the power supply before removing the damaged component, to avoid any potential damage to yourself or other components.
- Check the wiring: Inspect the wiring and connections to make sure there are no loose, broken or frayed wires. If necessary, use pliers to gently bend the wires back into place and tighten any loose connections.
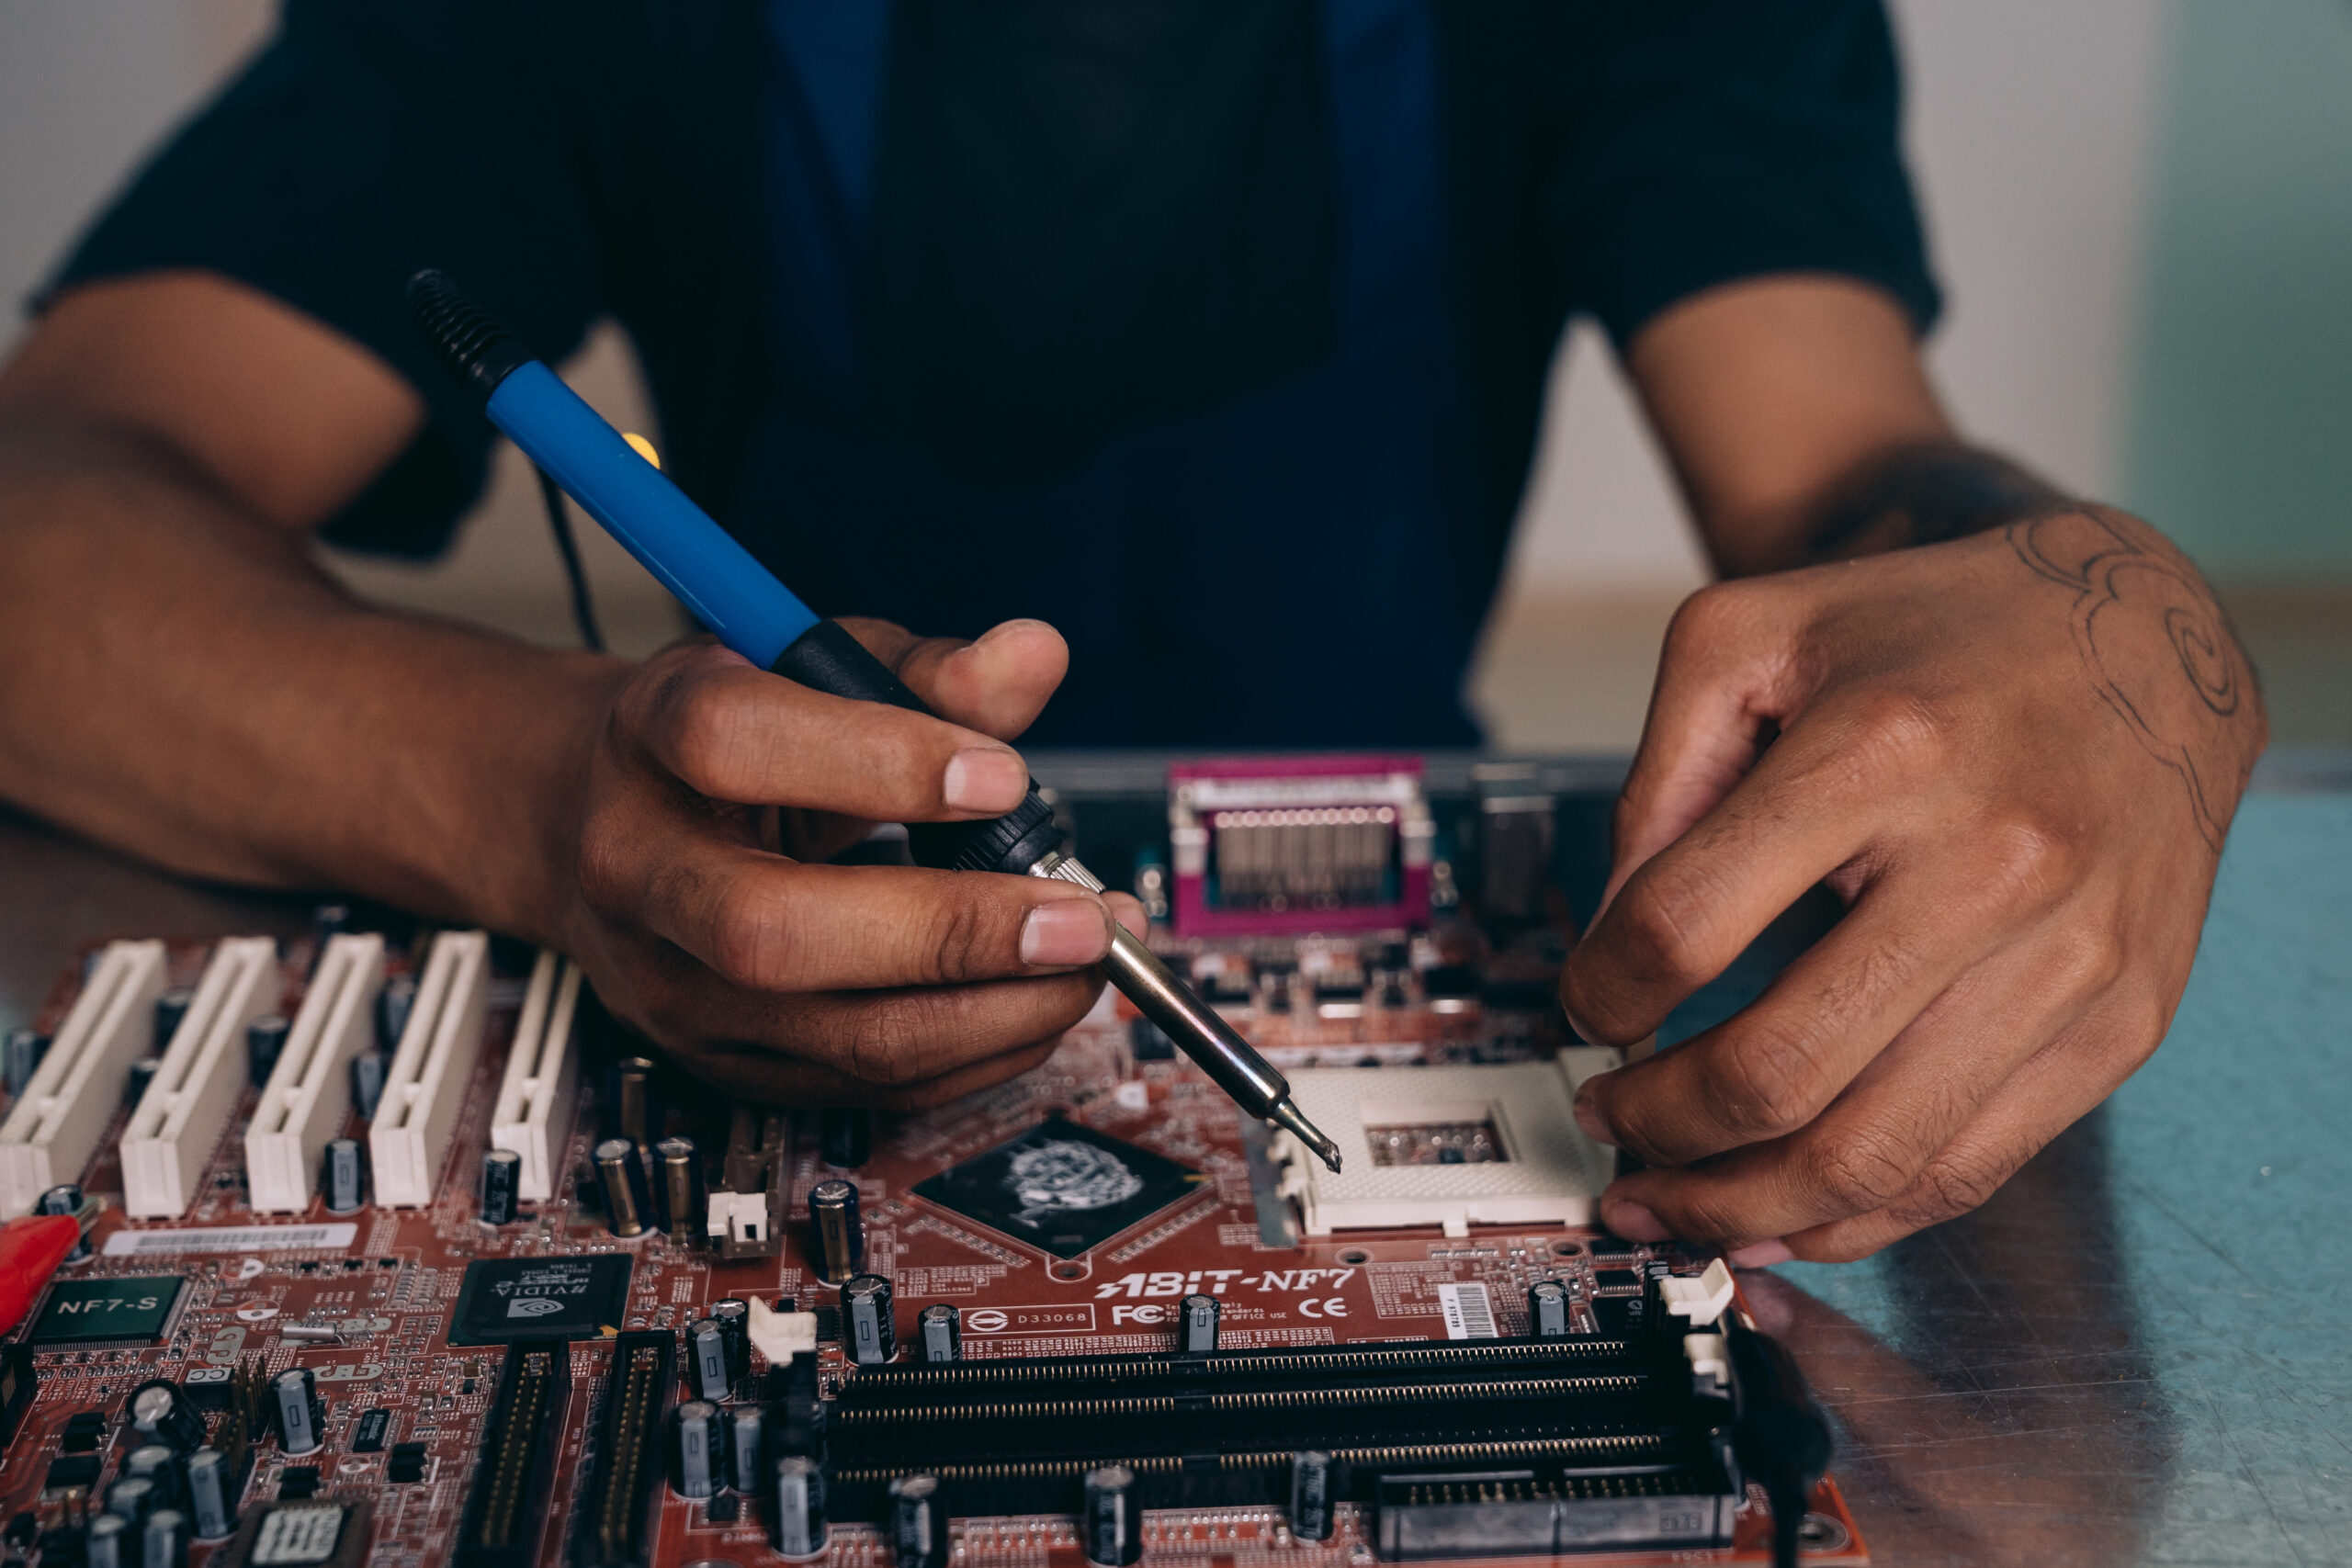
- Re-solder the connections: If you find any cold solder joints, use the soldering iron to re-heat and re-flow the solder. Make sure the soldered joints are clean and free of any oxidation, and that the solder has flowed evenly around the joint.
- Test the circuit: After completing all repairs, power up the circuit and use the multimeter to test the components and connections again to make sure everything is functioning as it should.
- Troubleshoot any remaining issues: If there are still issues with the circuit, use the multimeter to check for any other problems. If necessary, consult a repair manual or seek help from an experienced technician.
- Clean the circuit: Finally, clean the circuit and components with a soft cloth to remove any residual debris.
Some additional tips to keep in mind:
- Always disconnect the power supply before working on the circuit.
- Make sure to use the right type of soldering iron and solder for the task at hand.
- Keep a clean work area to minimize the risk of contamination or damage to the circuit.
- If you’re not familiar with the circuit or components, consult a repair manual or seek help from an experienced technician.
In conclusion, repairing an electronic circuit requires a combination of technical knowledge, experience, and the right tools. By following the steps outlined above and using a systematic approach, you can successfully repair many electronic circuits. However, it is always recommended to seek help from an experienced technician if you’re unsure of how to proceed, or if you’re working on a particularly complex or critical circuit.